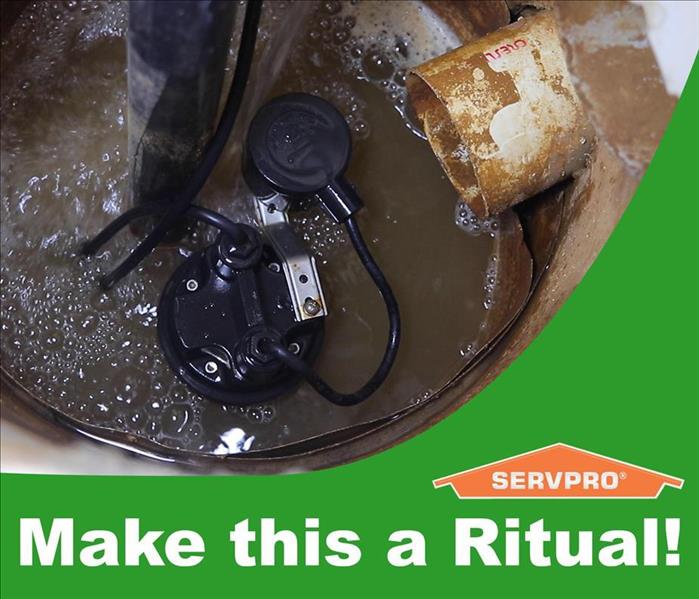
How to Fix a Seized Sump Pump: This Simple Act Could Save you Thousands of Dollars in Damages
3/9/2020 (Permalink)
A seized up Sump Pump can cost a home owner thousands upon thousands of dollars in damage. Some of this can be unrecoverable (unique items that cannot be replaced by money).
Imagine the time and money it would take to repair a flooded basement. Would it be worth it when you know it could have been avoided by one simple, routine check a year? Definitely not.
Each year during winter our team at SERVPRO of Wood, Ritchie & Pleasants Counties are called with families and business owners that suffer avoidable basement flooding from seized up Sump Pumps.
This is easily avoidable with one routine check each year. This takes merely minutes.
First we will briefly explain what a sump pump is and why it is important. If you already know what it is, please jump to the next heading.
What is a Sump Pump?
A sump pump removes excess water in a water-collecting sump basin and are typically found in basements.
A sump pump often is used to drain water from the perimeter drains of a basement waterproofing system. It funnels water that is above the foundation of the house away from the home into a municipal storm drain or dry wall.
Why do a Routine Check for you Sump Pump?
Sump Pumps are known to seize up during the summer because the are not typically used then. This becomes a problem in the winter months when excess water is drained into the sump pump.
When the sump pump is seized up the excess water is very likely to build up fast in the sump pump drain and overflow into the basement.
Now, because the sump pumps primary job is to remove excess water from the basement you now effectively have a plug in the sump pump. The flood water only continues to rise.
No you have a real problem.
How to Check for a Seized Up Sump Pump
Checking to see if your sump pump has seized up is very simple and should be a routine each year, around a month before the winter months.
Step 1: Locate your Sump Pump The sump pump is often found in one of the corners of the basement. It will be a pump leading into a hole, often covered by a black lid.
Step 2: Make sure that the sump pump is turned on Sound silly, but this is a very important part.
Step 3: Pour some water into it Your primary goal is to make sure that your sump pump has not seized up over the summer months. If the water continues to build up with no display of the water being pumped away you may have a seized up sump pump.
Step 4: How to Unseize the Sump Pump Surprisingly this is usually done by a simple shake of the pipe and pump (see the video below for how). This will jolt the sediment build up allowing for the sump pump to pump freely.
Step 5: Test Two More Times Once the water begins to pump out through the sump pump, it's important to test two more times to fully clean out the sump pump.
Fill the hole up a few more times and allow the sump pump to do what's it's made for ... to pump water. This is important to make sure that the sediment won't build up in the next few months.
Final Step: Watch the Video Our co-owner, Steven Seckman, was demonstrating how to do this and realised that his own sump pump had seized up.
Even our owners sometimes forget! Luckily he may have avoided the water damage. You will learn from his lesson brought unto himself and further see how easy it is to fix a very expensive problem before it happens.
We hope that this blog post has been helpful. If you could share this on your social media pages that would be a huge help to spread the word so that others can avoid the painful flooding of a basement.
From the team at SERVPRO of Wood, Ritchie & Pleasants Counties


 24/7 Emergency Service
